Yummy Paleo Zucchini Muffins {Gluten Free}

Image

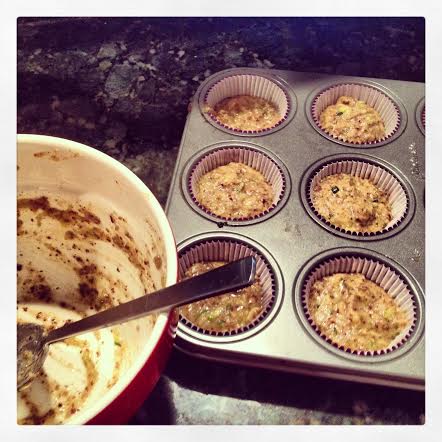
The batter might look a tad different.

It’s snowing outside my little abode today. What better way to soak up the winter weather than bake?

I am still on the 20 Day Paleo Challenge. Don’t get on to me for not posting the past few days! life happens. I am sure many, many people relate. But, friends, I have stuck with the challenge and will try to make up for late posts, hopefully today!

Anyway – this morning I wanted something warm – namely a muffin {kind of miss these} and ran across this paleo muffin recipe online.

I was a little hesitant because one of the main ingredients was zucchini {crazy, I know}.

However, I just ate two {watching the snow outside my windows}– and they are awesome. Literally.

Oh, and PS – this is a paleo and *gluten free* recipe! Rejoice!

Image

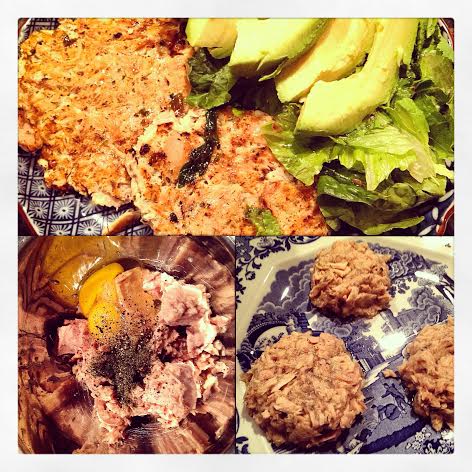
Finished product – already had started chowing down on one.

You will need: 1 ½ cup almond meal or flour {this is gluten free}, 1 cup shredded zucchini {I used a cheese grader}, 2 cage free eggs, ¼ cup light agave nectar, ½ tsp. baking powder, ½ tsp. baking soda, 1 tbsp. cinnamon, 2 tbsp. melted coconut oil, 1 tbsp. vanilla extract and a pinch of sea salt.

This recipe is very simple, honestly – and will yield about 9 muffins.

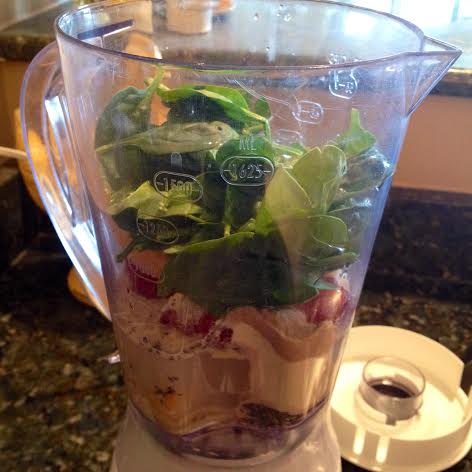
Add the eggs and almond flour into a large mixing bowl and stir. Shred your zucchini into a separate bowl and make sure you have a cup of it. Usually, one zucchini will be 1 cup. I only had a little bit left over.

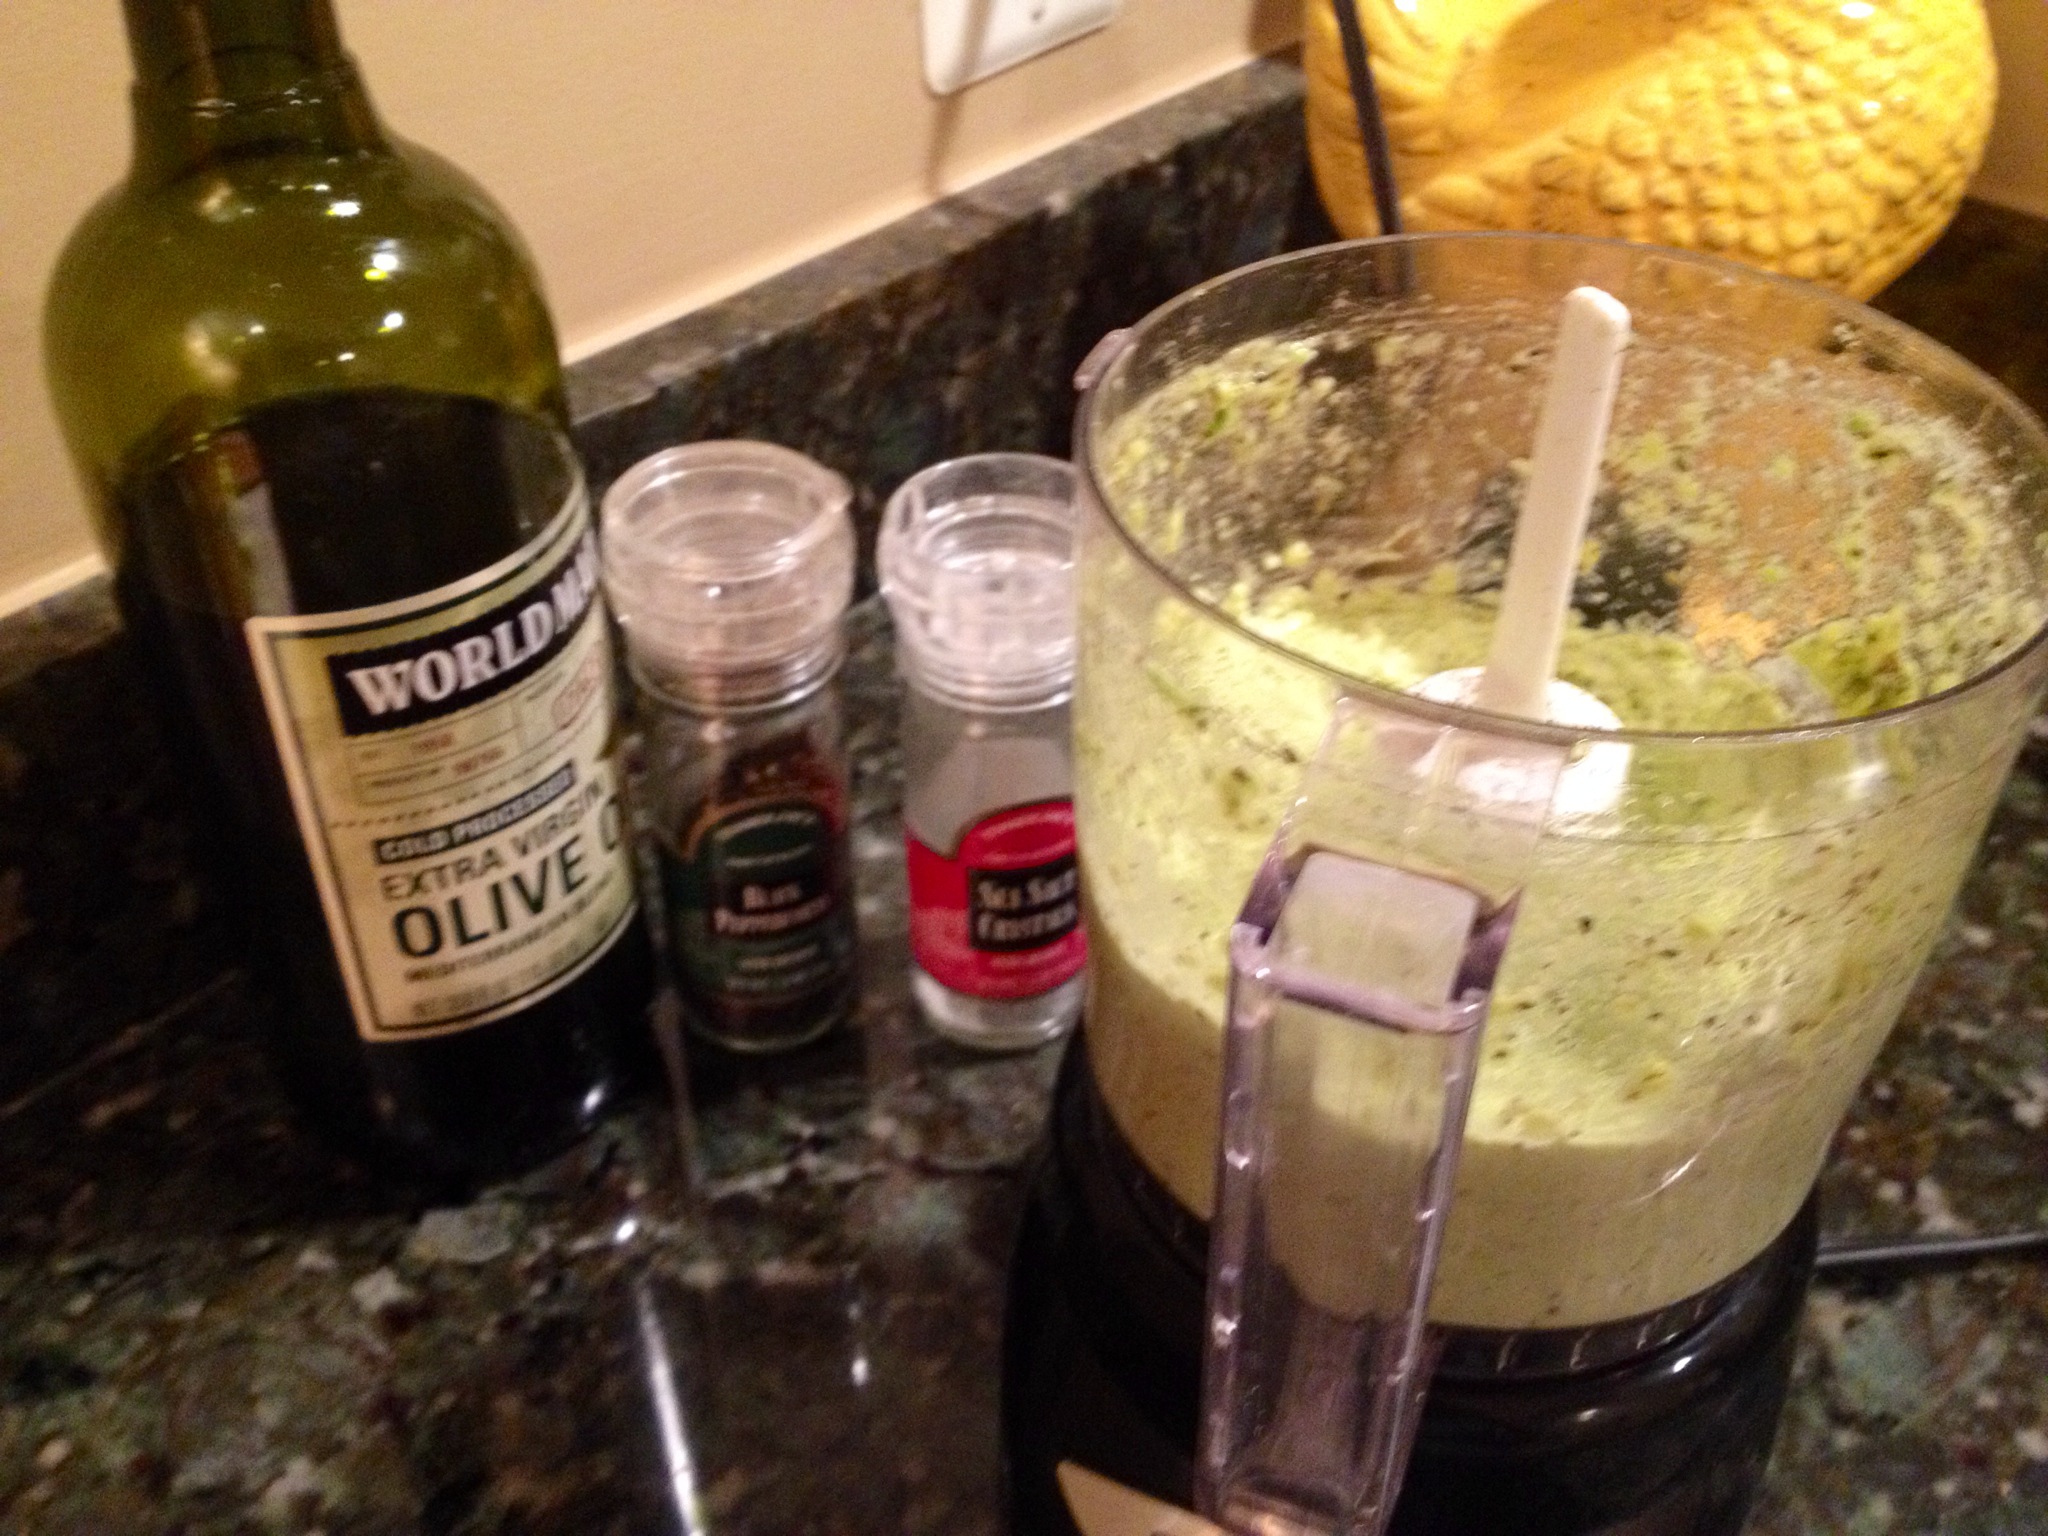
Dump these green shreds into your mixture and stir it up. Add in the salt, nectar, baking powder and soda – and stir again. Lastly, pour in the melted coconut oil, vanilla and cinnamon.

Preheat the oven to 350. Like any muffins, place cupcake liners in a muffin tin and pour the wet mixture into each slot. These rise like normal muffins – so you may want to just fill them up ¾ of the way full.

Let them bake for about 20 minutes or until golden brown. Enjoy. These are rich and creamy tasting. Perfect for that breakfast meal with that cup of hot Earl Grey Tea!

20 Day Paleo Challenge

Image

Dallas, enjoying the Christmas cheer.

Happy December 1st! It’s beginning to look a lot like Christmas. Last night, I decorated my apartment with Christmas cheer.

I bought a live tree from a small business {yesterday was small business Saturday, after all.}

There is something just magical about having a real pine tree in your home. The scents of the season are absolutely heavenly.

You really can’t frown when you have a 7 foot tree sparkling white bright lights and pine scented candles glowing in the window.

Anyway, onto my real post for the day…The 20 Day Paleo Challenge!

I have wanted to try this for a while – so this month {before Christmas}, I am getting on the bandwagon. Maybe not the cross fit bandwagon; but, the Paleo and YouTube workout one.

Every day, I will post a meal plan and workout. You can join me if you like – on this challenge leading up to Christmas. I made it 20 days, because who wants to deny themselves holiday treats around Christmas, don’t do this to yourself. But hopefully, you will be feeling leaner by December 21st – so you can really enjoy the holiday season and Christmas Eve and Christmas Day.

Just to be clear – we are doing this December 2nd – December 21st. I will post my meal plan early tomorrow morning with a workout video. Who’s with me?

Image

Read about the Paleo Diet, here.

BONUS: Also – this is a bonus to the post. It’s the beginning of the month of Jesus’ birth – advent season. This is the true meaning of the season. Here is a link to scripture reading for every Sunday.

Tuna Patties {Paleo, Gluten Free}

Image

Bottom Left to Right: Tuna in the mixing bowl & patties formed to go on the skillet.

So you overate on Thanksgiving – and now you are trying to do a little cleanse until Christmas holiday season. What a good idea!

I ran across this awesome 30 Day Paleo Challenge – it includes workouts for every day! How great. I am going to take the plunge {for 20 days}, will you join me?

This tuna patty recipe is wonderful for that work lunch or a nutritious dinner.  It is filling and absolutely delicious – a staple on this challenge.

Not to mention, it contains no bread at all! Hallelujah, let the heavens open! Eating clean food {like this challenge offers} is going to make your body feel lighter and leaner.

You will need: 3 cans of light tuna {in water}, 2 organic cage free eggs, 1 heaping tbsp. of dried dill, 1 tsp. coconut oil, salt and pepper to taste.

Open the cans of tuna – and drain the water. Empty the meat into a mixing bowl.

Crack in two cage free eggs. Then add in the dill and salt and pepper. Simple, right?

Mix all these ingredients together. Then you need to form them into little patties. My patties are pictured in this post. On the oven, heat up a frying pan – drop the coconut oil into the pan and let it warm up a decent amount.Image

Once the pan is really hot, place one patty in at a time. Now, the trick for them to stick together {since bread is absent from this mixture} is to cook them a little longer than expected.

Press the patty down into the frying pan with a spatula – making sure all the water is cooking out. Flip like a burger and repeat with the rest.

You are done – I added a little avocado side salad to my tuna patty meal. Enjoy!

Creamy Turkey Kale Potato Soup

ImageHello leftovers. You’ve basically stuffed yourself with turkey this week – but there is somehow magically still turkey hanging out in the fridge.

Thanksgiving is the holiday of endless food and leftovers.

What to do with all the food hogging up that fridge space? Why – you can make Creamy Turkey Kale Potato Soup! What an excellent idea.

This little delightful soup was created with those Thanksgiving leftovers in mind (esp – the turkey!). No one wants to really just eat slices of turkey every day for a week. That’s boring. The season is changing and it’s getting chilly outside – soups are perfect for this type of weather.

So let’s make soup from turkey leftovers!

You will need: 1 quart gluten free chicken broth, 2 cups water, 1 tsp. crushed red pepper, ½ onion, 3 cloves garlic, 8 red potatoes (sliced), salt, pepper, sliced turkey (you choose the amount), 1 handful of kale, 1 cup half and half creamer, olive oil and 2 tbsp. light butter.

First, pour the chicken broth into a big pot on the stove. Let this mixture heat up. Cut the red potatoes in slices and drop in the broth. Add in 2 cups of water, sprinkle in the red pepper and drizzle in the butter.

In a pan on the oven – sauté the onion and garlic cloves in olive oil (of course after you chop them in a food processor or finely by hand). After they are slightly browned – add in to soup mixture.

Taste – and add salt and pepper to your liking. Next, dump in the Thanksgiving turkey leftover pieces. Lastly add in the creamer and kale leaves. Stir – and let the flavors marinate.

Make sure the potatoes are soft – if they pass your test, you are done. And you have a creamy, delicious leftover soup that everyone will love! Wonderfully gluten free too.

Happy Thanksgiving – Verses of Praise!

thanksgiving“O come, let us sing unto the LORD: let us make a joyful noise to the rock of our salvation. Let us come before his presence with thanksgiving, and make a joyful noise unto him with psalms. For the LORD is a great God, and a great King above all gods. In his hand are the deep places of the earth: the strength of the hills is his also. The sea is his, and he made it: and his hands formed the dry land. O come, let us worship and bow down: let us kneel before the LORD our maker.” – Psalm 95:1-6

“Make a joyful noise unto the LORD, all ye lands. Serve the LORD with gladness: come before his presence with singing. Know ye that the LORD he is God: it is he that hath made us, and not we ourselves; we are his people, and the sheep of his pasture. Enter into his gates with thanksgiving, and into his courts with praise: be thankful unto him, and bless his name. For the LORD is good; his mercy is everlasting; and his truth endureth to all generations.” – Psalm 100

4 Ingredient Gluten Free Cheese Biscuits

ImageMove aside boxed gluten free bread mixes. Now, you can make your own from scratch. I mean, literally from scratch. These moist, delicious gluten free biscuits will melt in your mouth.

Obviously, I love the Chebe brand of gluten free foods {blogged about it here}; however, why use a box when you can make it yourself!?

Ladies and gents, just in time for Thanksgiving – this little biscuit will be perfect for your gluten free guests. So that basket of bread being passed around at the table won’t be so tempting and depressing. Believe me, I know this feeling.

These little morsels will take no time at all to bake. If you are going over to someone’s house for Turkey dinner – bring your own special rolls {no one will care}. No shame.

You will need: 1 cup all-purpose gluten free flour, ½ cup low-fat butter, ½ cup skim Greek yogurt, 1 handful shredded cheddar cheese and garlic powder to taste. {I think this adds a little flavor!}

First, pour your gluten free flour into a mixing bowl. Then add butter {I melted mine in the microwave for 30 seconds before adding it in}. Top off this mixture with the Greek yogurt and mix it up.

Next add in the shredded cheese and sprinkle in some garlic powder. Preheat the oven to 400, while you put the biscuit mix into muffin tins, which are coated in cooking spray.

Put the biscuits into the oven for about 10-15 minutes or until golden brown. Serve with some butter on the side. Yum – perfect little cheddar dinner roll.

Eat in moderation. Remember, just because its gluten free does not mean its low-fat. So have a couple – but these are not negative calories.

Vitamin Packed Sweet Green Shake

shake

What it looks like before you blend!

Have a craving for a milkshake or smoothie? This morning vitamin packed green shake should hit the spot. You can have this for breakfast or a little midnight snack {I usually fix this as a morning shake}.

The healthy ingredients are sure to keep you satisfied for hours and give your skin that healthy glow. Who knew you could pack out your blender with some great stuff – and reap the rewards?

You’ll crave this breakfast in the morning when you wake up. I feel like my kitchen is a Jamba Juice factory – this shake is seriously that good!

You will need: 2 tbsp. Greek yogurt, ½ cup water, 2 tsp. chia seeds, 1 tsp. flax seed, 1 scoop gluten free whey protein powder, 1 handful spinach and 1 generous handful of frozen fruit.

shake2

Finished product in a mason jar with straw!

First, I generally place the yogurt in the blender – then add in the frozen fruit. Here is where you can get creative the sky’s the limit. You can put frozen blueberries in the shake – strawberries, pineapples, peaches {whatever really}. I typically buy this value pack of assorted mixed fruit at Costco – more bang for your buck.

Next add in the chia seeds, flax and 1 scoop of why protein powder. I get the vanilla flavored kind – this really adds a milkshake taste to the shake. Shove in a heaping handful of spinach and pour the water on top.

Blend your little green mixture together using the ‘milkshake’ setting on your blender. You may need to add in a little more water depending on the thickness and consistency you want for your shake.

There you go – a morning sweet green shake – packed with vitamins and will give you energy to go about your busy work day. Hooray for beautiful greens and naturally sweetened fruit!

Tex Mex Baked Potato

ImageBeing a Texas girl, everything just tastes better with salsa. Scrambled eggs a little bland? That’s alright just add some spicy salsa and now they are full of rich flavor.

I love giving regular dishes Tex Mex flair. If you like a little zest in your meals, you will love this baked potato.

It is a quick meal to make when you are tired from a long day at the office or simply have no time to cook – but want something pretty nourishing for your body.

You will need: 1 large Russert potato, ½ cup salsa, ½ avocado, 1 handful of Mexican shredded cheese, 1 tbsp. butter, 2 tbsp. low fat sour cream and salt and pepper to taste!

First of all, I cook my potatoes in the microwave. It is way faster and so much easier. And, to me, tastes just as good. No shame. So, just pop your potato in the microwave (be sure to scrub the ruddy outside before) for about 5 minutes – maybe a tad longer.

Once you think it is done (mine typically takes 7 minutes – random, I know), slice the potato down the center with a knife and press the two sides into each other – to mash up all the insides.

Dump the butter and sour cream on the potato. Let them melt then pour the cheese on top, followed by the salt, pepper, avocado slices and lastly salsa.

There you go – a bonafide Tex Mex Baked Potato! {Gluten free, naturally -Yum}.

Gluten Free Avocado Alfredo Pasta

ImageTalk about quick and easy! Want to make an impressive meal for dinner guests, but you really don’t have the time to slave in the kitchen all day? Man, I think that sounds like a dream.

This Gluten Free Avocado Alfredo Pasta is your dream come true! With fresh ingredients and the creamy natural avocado texture, your guests or family will be scrapping the bowl for more. This dish is quick and easy to make.

OK, it takes a little longer than pouring a jar of marinara sauce on wet noodles. But with a couple extra minutes comes homemade, healthy heaven. Who doesn’t want that?

You will need: gluten free corn noodles, 2 small avocados, salt and pepper to taste, ¼ cup shredded Parmesan cheese, 2 tbsp. dried basil (you can use fresh too), 3 tbsp. olive oil, 3 cloves garlic.

prep

Yummy avocado sauce in the food processor!

Hopefully, you know how to make spaghetti noodles. Making gluten free ones is no different than regular. Let a cooking pot on the oven come to a boil and place the desired amount of gluten free noodles in the hot bowl. Let them cook. And strain when done.

Cool fact: my mom taught me this – you can throw a wet noodle against a wall and check to see if they are done. If the noodle sticks to the wall, you are done. If it falls to the ground, it needs more time in the pot.

You are going to make the avocado topping in the food processor. So, cut your avocados (take off the skin) and add the fleshy part to the processor. Add in the garlic, olive oil, basil, salt and pepper and Parmesan cheese. Blend this all up.

It may take a while for the avocados to fully mash up. You may need to stop the processor a few times and mix the avocado mixture around.

When the noodles are done, spoon out this mixture on top of them – and fold into the noodles just like any marinara or pesto sauce. Sprinkle more parmesan on top, if desired, and serve. This is a rich meal that will please a lot of parties. File this recipe away. You will use this more than you know. Quick, easy and healthy Avocado Alfredo {gluten free} Pasta! Dive in.

Gluten Free Chicken Fingers & Honey Mustard Recipe

Image

These will win your heart – for sure. Yum.

I hope that I am not the only gluten free person out there to admit that I am inwardly jealous when I see people diving into a chicken finger basket.

This was my favorite meal as a kid – and when I found out about my wheat allergy, it was suddenly taken from me. Major bummer.

Last night, I just wanted comfort food – some chicken fingers, if you will. But, I was faced with a daunting task – to make them gluten free and a little healthier for you than the fingers and fries soaked in grease. And, what do you know!? It can be done.

This meal is delicious. I even made my own honey mustard dipping sauce to go with my baked chicken fingers. Dive in – this is healthy, quick and will satisfy that chicken finger craving.

For the chicken fingers, you will need: 6 chicken cutlets, 2 cage free eggs, ½ cup Parmesan cheese, ½ cup almond meal, 1 tbsp. garlic powder, 1 tsp. paprika, salt and pepper to taste..

kimi friday

Friday Dinner. On my way to get the stuff for these awesome chicken fingers.

Crack the eggs into a bowl and whisk the mixture together. Set aside.

In a separate bowl, pour in the Parmesan, almond meal, garlic, paprika, salt and pepper. Mix these ingredients together well.

First, take a raw chicken cutlet and dip it in the egg mixture. Coat it well and then transfer it to the loose breading mixture. Make sure all these tasty ingredients cover your chicken piece. Do this same process one by one to each chicken cutlet.

Place all the coated chicken pieces onto a lined cookie tray. Preheat the oven to 375 and pop in your chicken fingers for about 15-20 minutes or until golden brown.

For the honey mustard sauce, you will need: ½ cup Dijon mustard, ¼ cup honey, 2 tbsp. light mayo, and 1 tbsp. lemon juice.

Combine the ingredients above – for a delicious dipping sauce. With this homemade meal, you will never grow jealous again of others getting that chicken finger basket at Dairy Queen. You have a healthier, gluten free version that is simply fabulous!